Astrbot-命令行速通
Astrbot-命令行速通
前置条件
如果尚未安装 uv 通过下面命令一键安装 复制粘贴在命令行中
uv 前
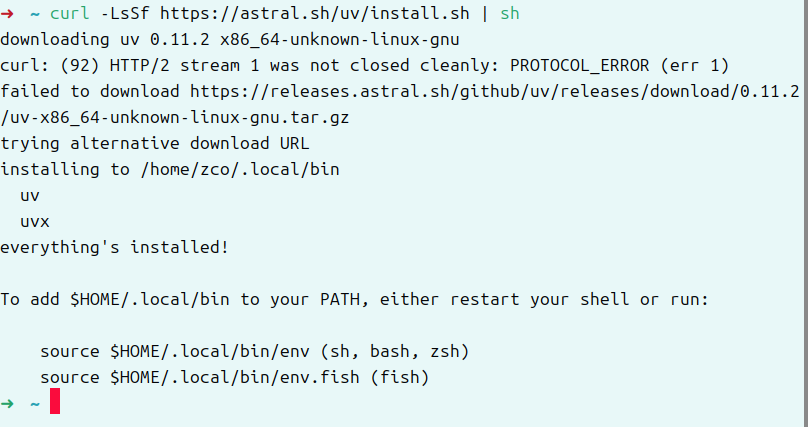
现在是安装成功了,但是不能直接调用需要配置一下最简单的方法: 直接在终端输入下面这行命令并回车:
source $HOME/.local/bin/env
如何验证是否成功?
输入以下命令,如果看到版本号,就说明一切正常了:
uv --version


安装并启动
uv tool install ast
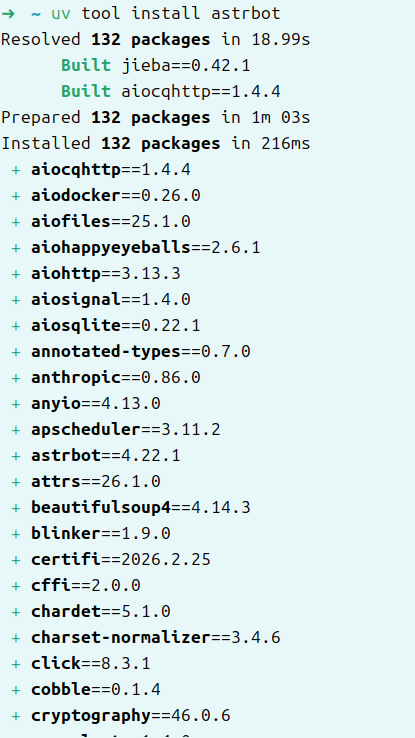
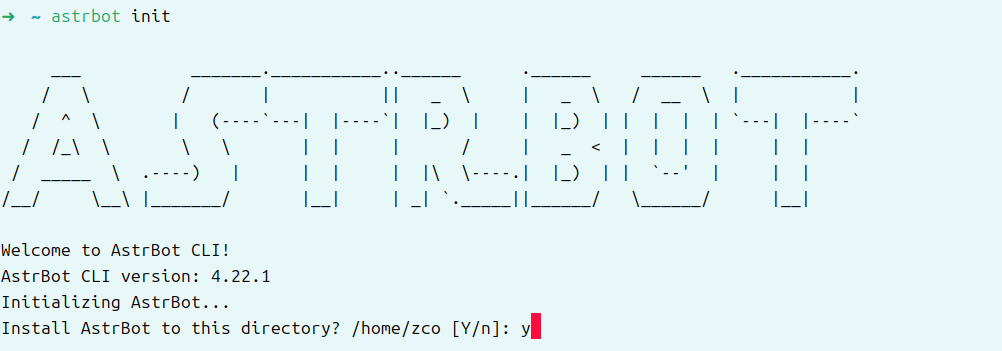
一直选择y即可
等


看到如下就是安装完成了

我们启动一下Astrb

un
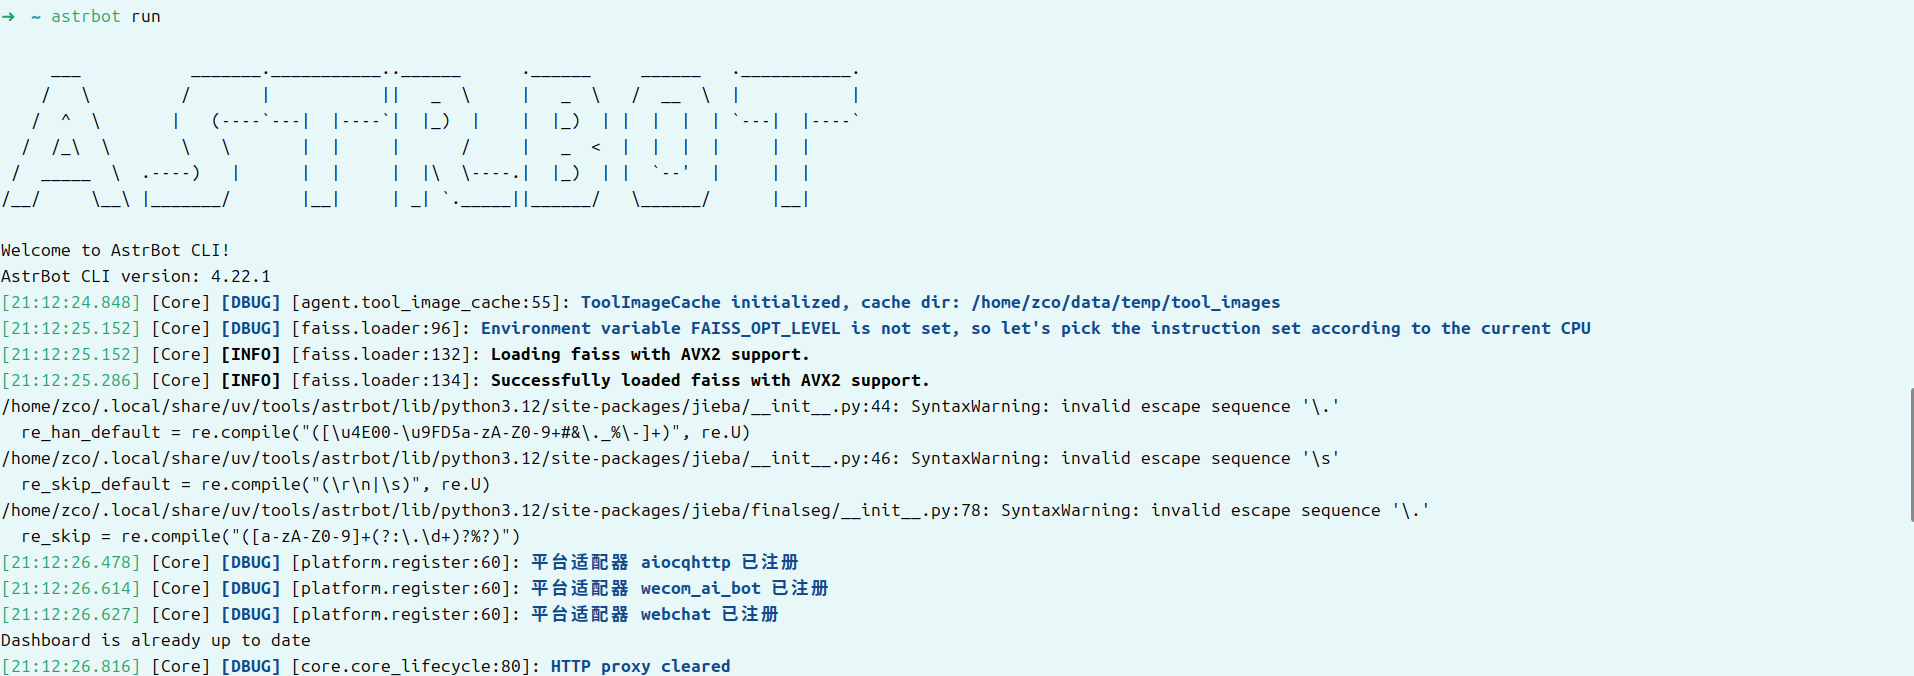
他会监听你的所有网卡(包括虚拟网卡)给你生成ip+端口
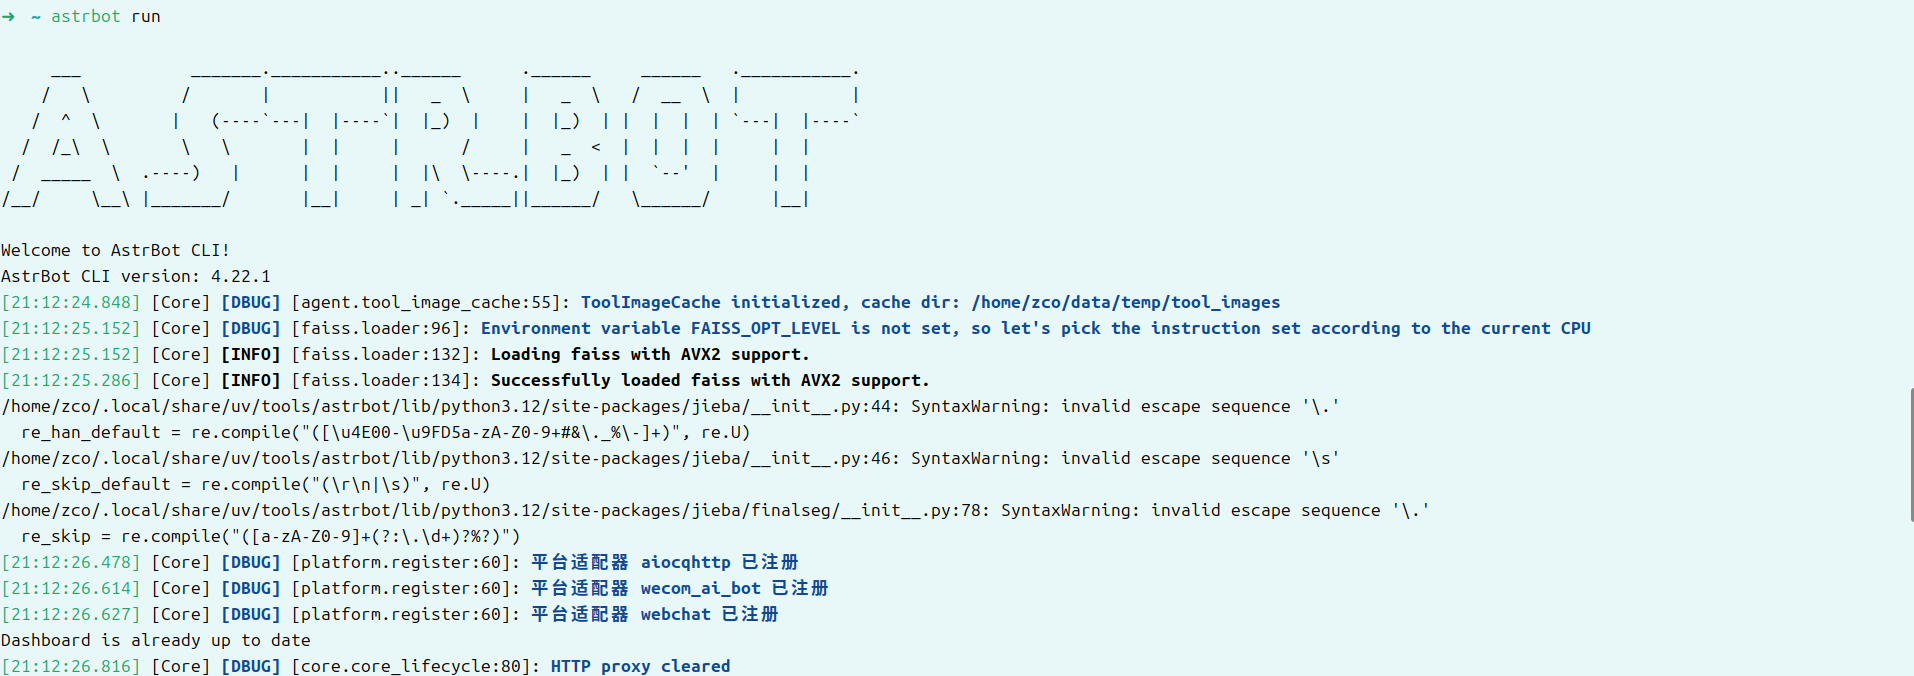
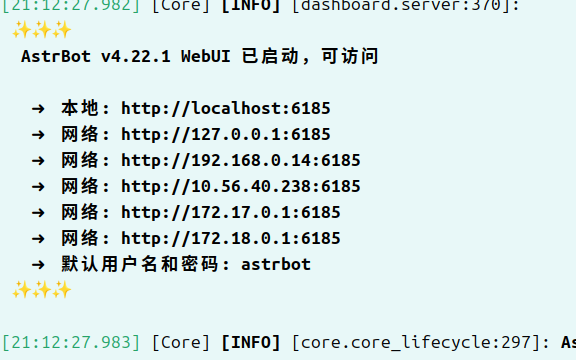
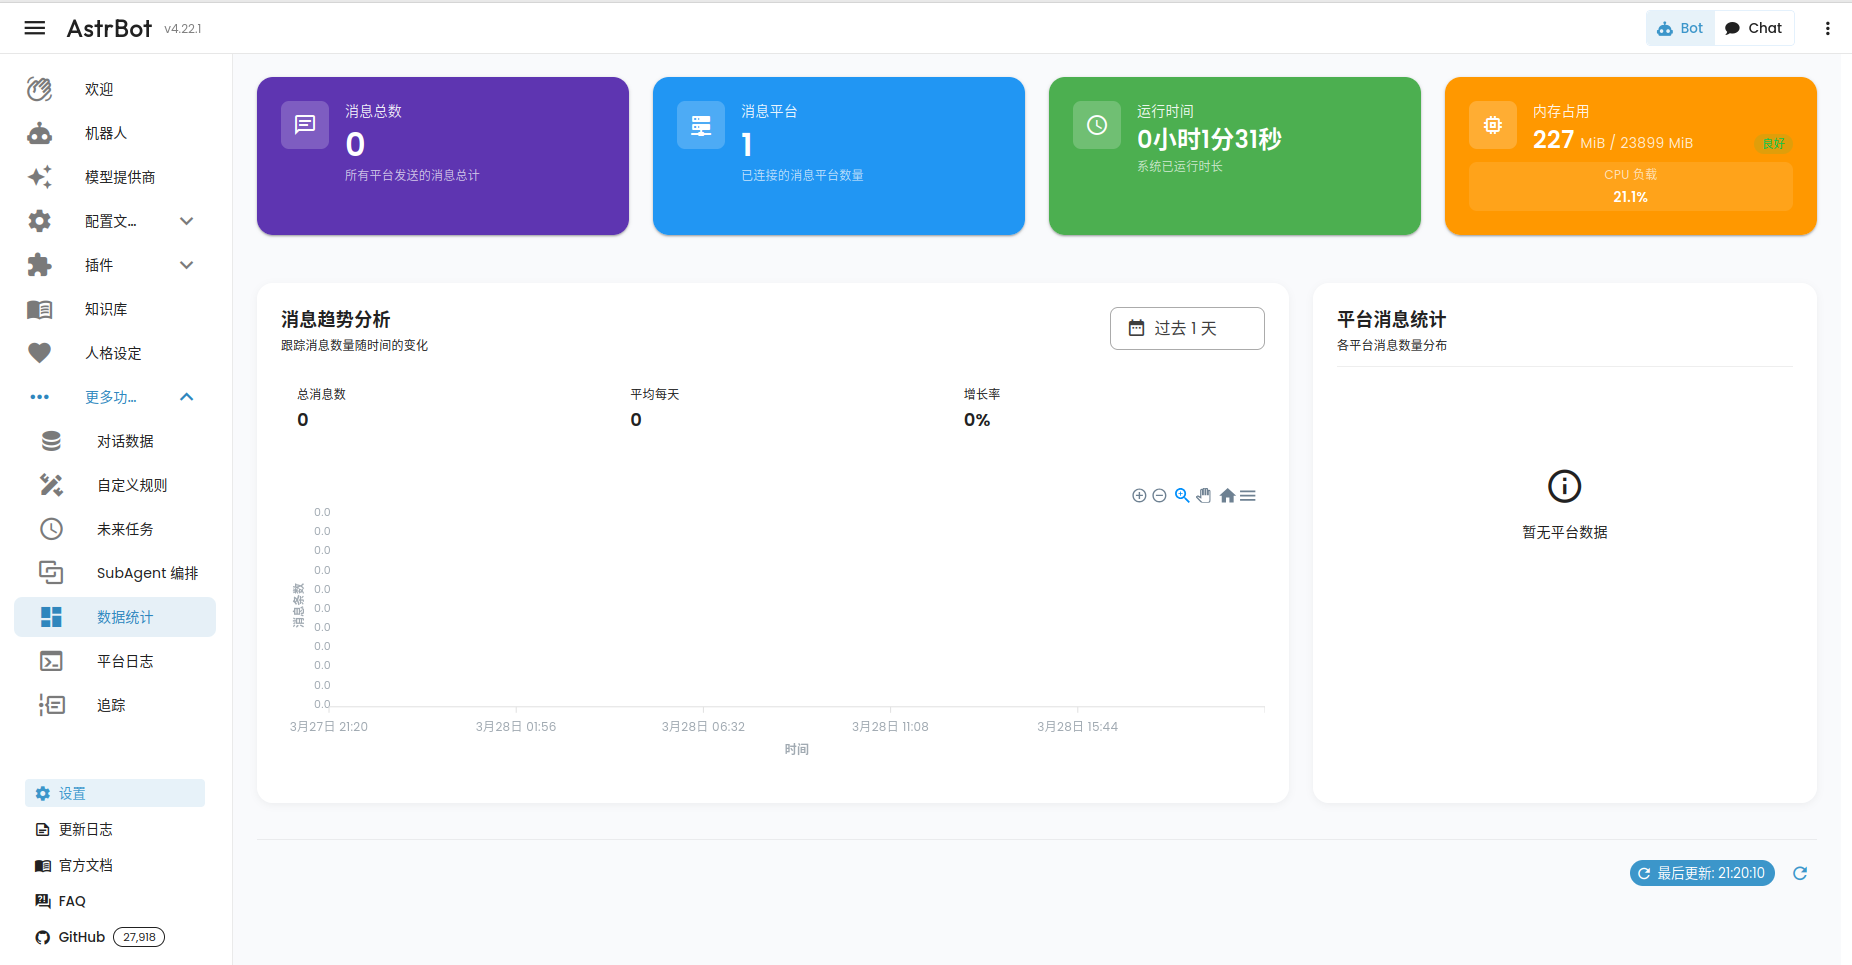
默认密码和名称都是astrbot
配置API
1. 登录管理界面
打开浏览器访问 http://localhost:6185
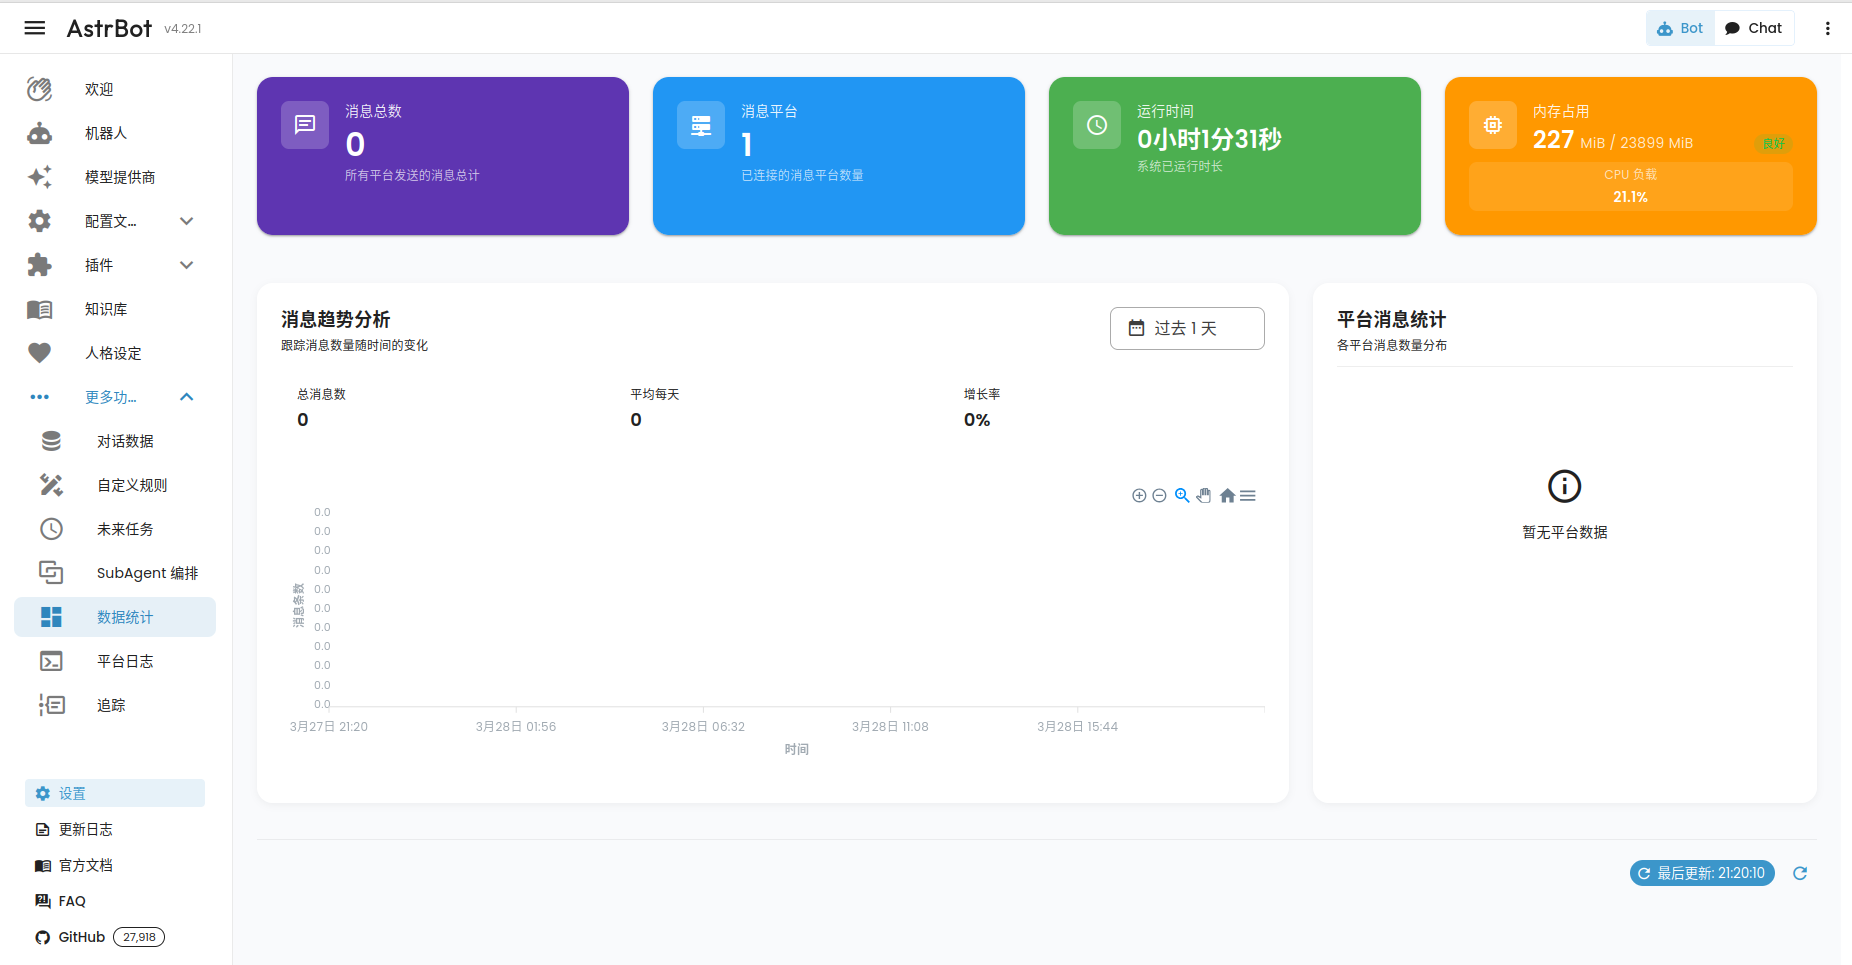
2. 创建API密钥
在左侧菜单栏找到 "API密钥" 或 "API Keys" 选项
点击 "新建API密钥" 或 "Create API Key"
输入密钥名称(例如:
my-bot-api)选择权限范围(建议选择所有权限或根据需求选择)
点击 "生成" 或 "Generate"
复制生成的API密钥(重要: 此密钥只显示一次,请妥善保存)
3. 配置API端点
Astrbot支持多种API调用方式:
REST API
基础URL:
http://localhost:6185/api认证方式: Bearer Token
Header示例:
curl -X GET "http://localhost:6185/api/status" \
  -H "Authorization: Bearer YOUR_API_KEY"
WebSocket API
连接地址:
ws://localhost:6185/ws认证方式: 在连接时传递API密钥
JavaScript示例:
const ws = new WebSocket('ws://localhost:6185/ws');
ws.onopen = () => {
  ws.send(JSON.stringify({
    type: 'auth',
    token: 'YOUR_API_KEY'
  }));
};
4. 常用API接口
获取机器人状态
GET /api/status发送消息
POST /api/message/send
Content-Type: application/json
{
"platform": "qq",
"group_id": "123456789",
"message": "Hello from API!"
}执行命令
POST /api/command/execute
Content-Type: application/json
{
"command": "echo Hello World",
"async": false
}获取插件列表
GET /api/plugins5. 环境变量配置
为了方便使用,可以将API密钥设置为环境变量:
# Linux/macOS
export ASTRBOT_API_KEY="your_api_key_here"
export ASTRBOT_API_URL="http://localhost:6185"
# Windows (PowerShell)
$env:ASTRBOT_API_KEY="your_api_key_here"
$env:ASTRBOT_API_URL="http://localhost:6185"6. Python客户端示例
import requests
class AstrbotClient:
def __init__(self, base_url="http://localhost:6185", api_key=None):
self.base_url = base_url.rstrip('/')
self.api_key = api_key
self.headers = {
"Authorization": f"Bearer {api_key}",
"Content-Type": "application/json"
}
def get_status(self):
response = requests.get(f"{self.base_url}/api/status", headers=self.headers)
return response.json()
def send_message(self, platform, target_id, message):
payload = {
"platform": platform,
"target_id": target_id,
"message": message
}
response = requests.post(
f"{self.base_url}/api/message/send",
json=payload,
headers=self.headers
)
return response.json()
# 使用示例
client = AstrbotClient(api_key="YOUR_API_KEY")
status = client.get_status()
print(status)7. 安全注意事项
API密钥保护:不要将API密钥提交到版本控制系统
访问限制:建议配置防火墙规则,限制API端点的访问IP
HTTPS配置:在生产环境中使用HTTPS
定期轮换:定期更新API密钥
8. 故障排除
常见问题:
连接被拒绝:确保Astrbot正在运行
astrbot run认证失败:检查API密钥是否正确
权限不足:检查API密钥的权限设置
跨域问题:如果从不同域访问,需要配置CORS
调试命令:
# 检查服务状态
curl -X GET "http://localhost:6185/api/status"
# 测试认证
curl -X GET "http://localhost:6185/api/status" \
-H "Authorization: Bearer YOUR_API_KEY"
# 查看日志
astrbot logs9. 进阶配置
配置文件位置
Astrbot的配置文件通常位于:
Linux/macOS:
~/.config/astrbot/config.yamlWindows:
%APPDATA%\astrbot\config.yaml
自定义API端点
在配置文件中可以自定义API路径和端口:
server:
  host: "0.0.0.0"
  port: 6185
  api_path: "/api"
  cors_origins:
    - "http://localhost:3000"
    - "https://yourdomain.com"